Connect your resources using these steps.

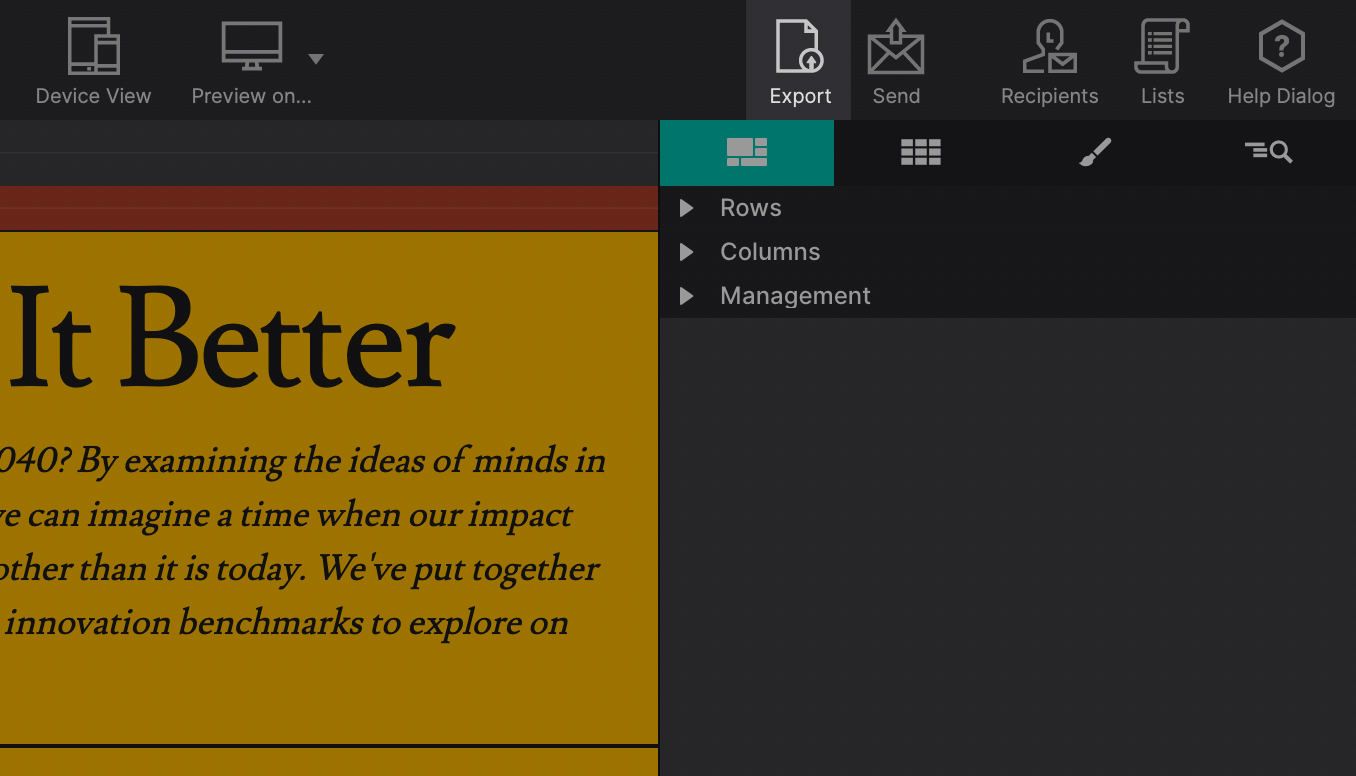
Once your creation is complete, click the Export icon in the top toolbar. You'll be prompted to choose where you would like to save your project on your local machine.
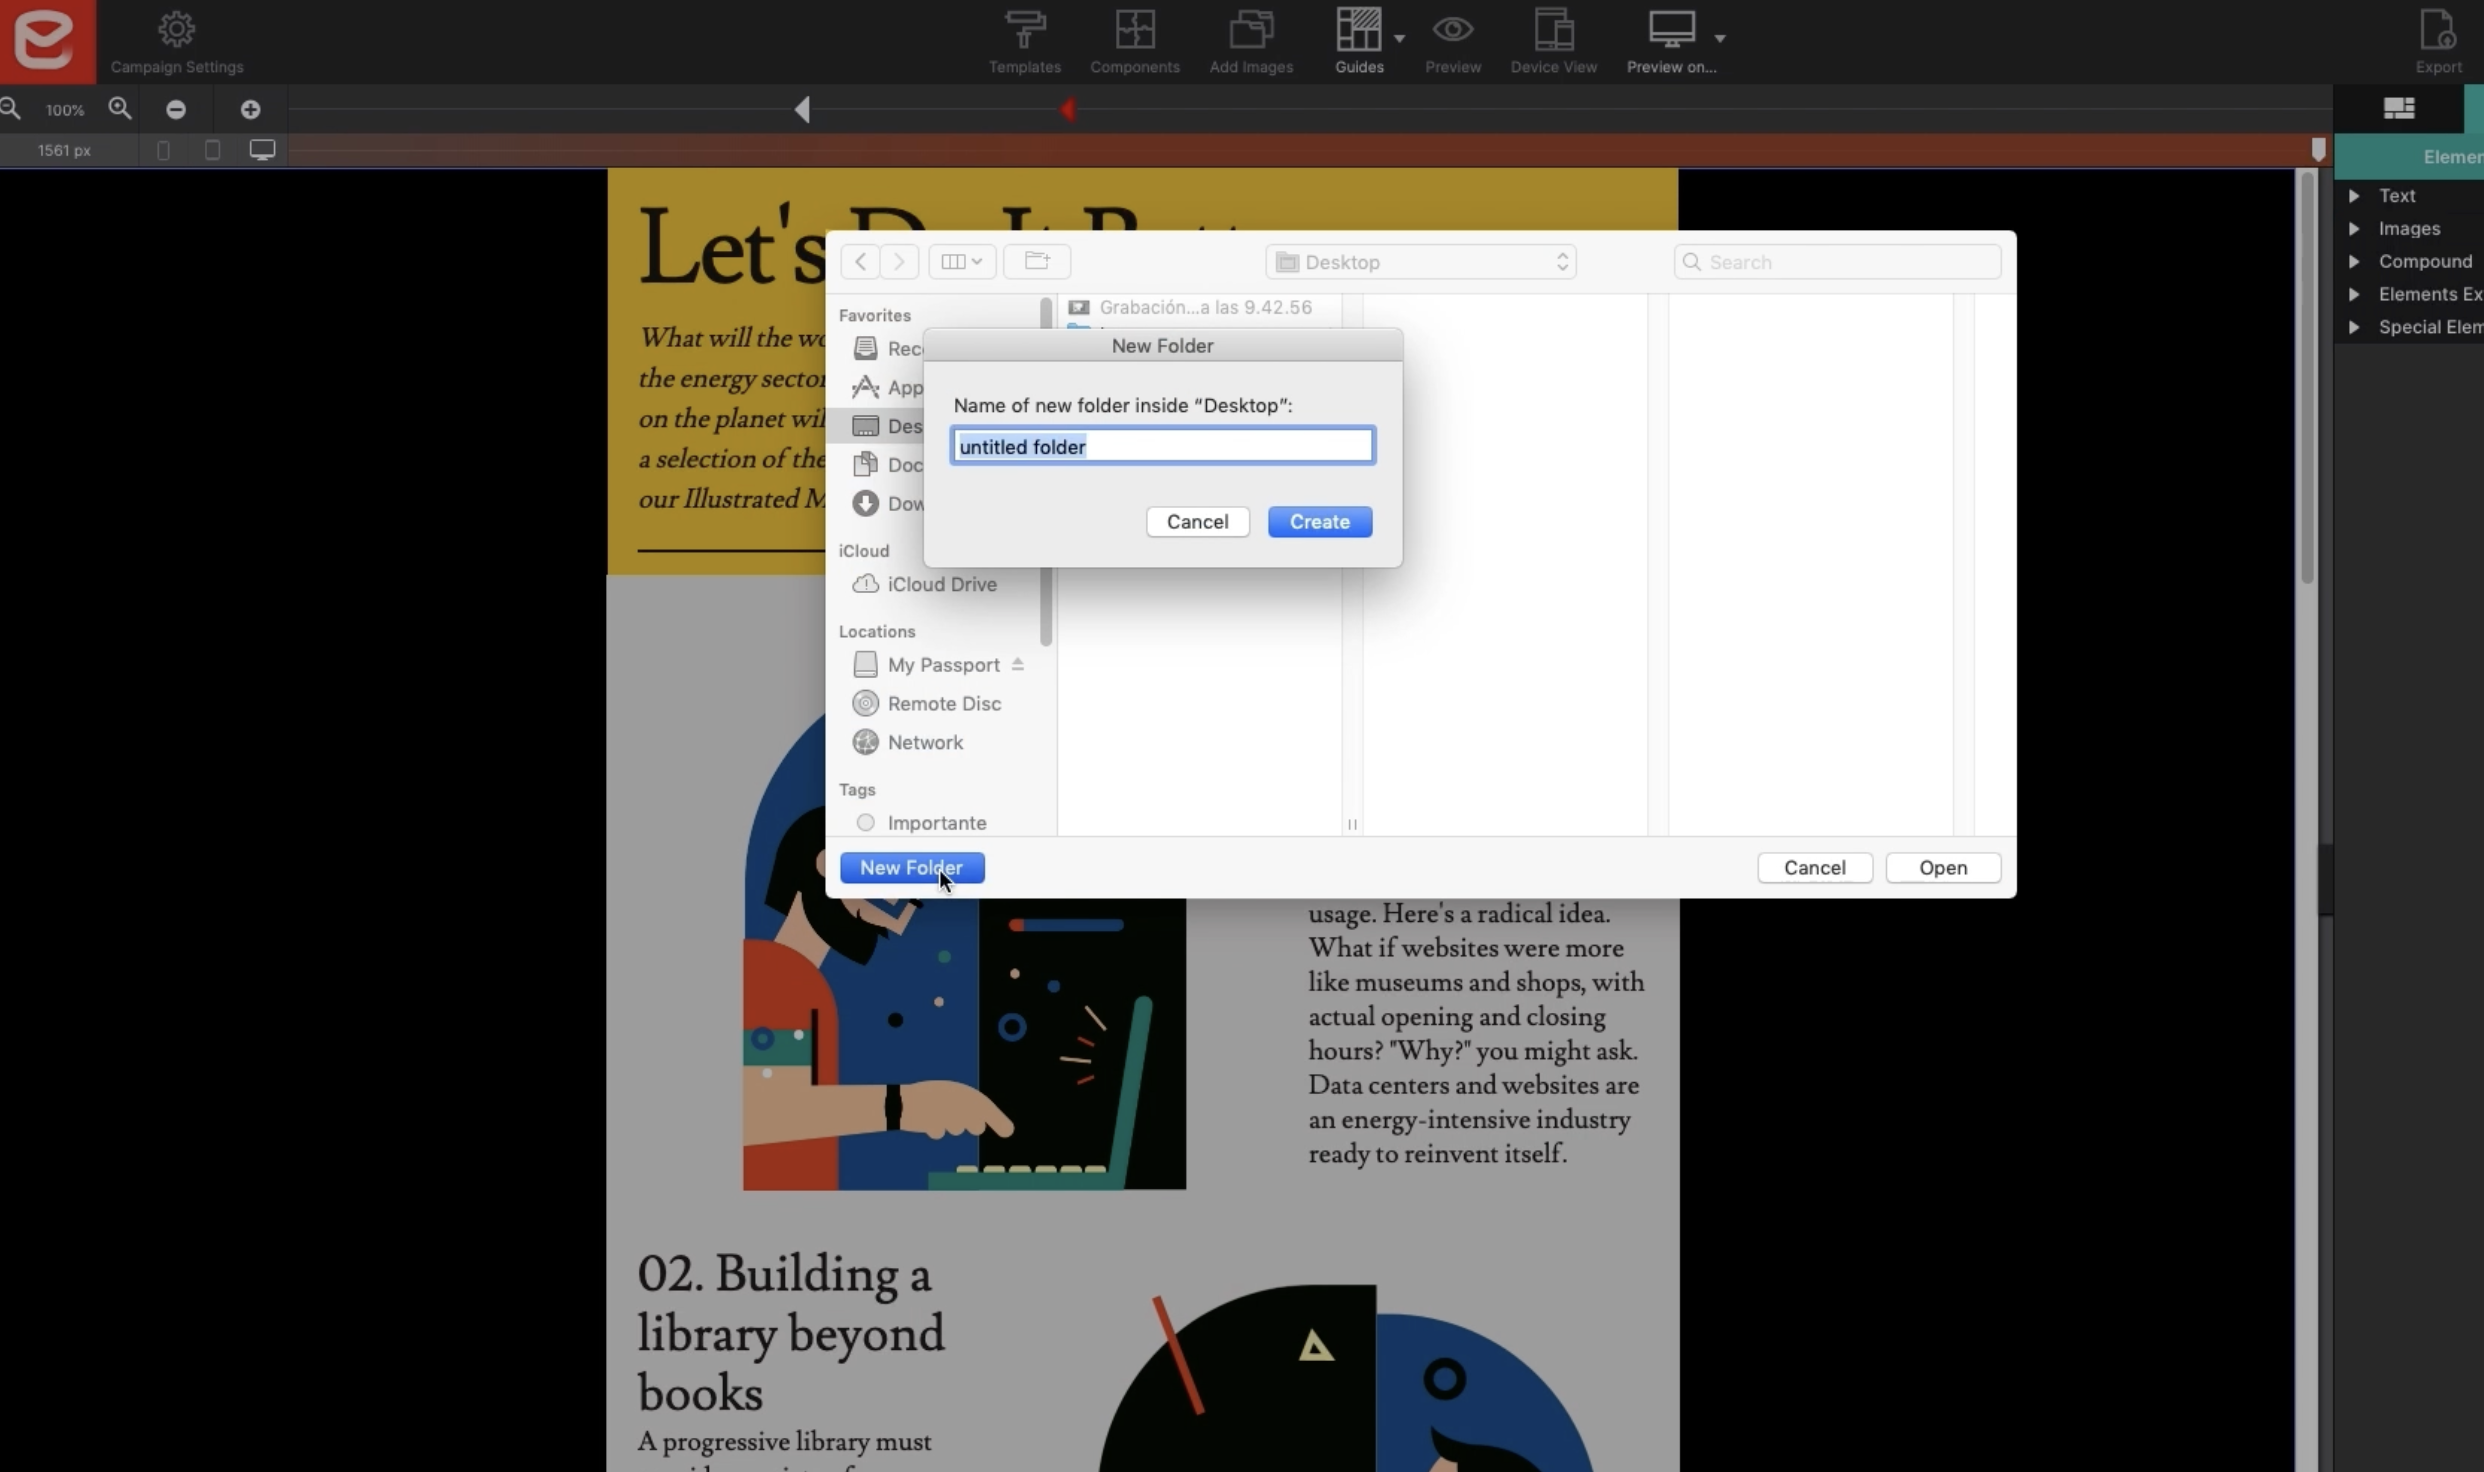
You will be asked to designate a folder on your computer where to export the email.html file and the images from your email (or create a new folder to organize your project) and click Open.
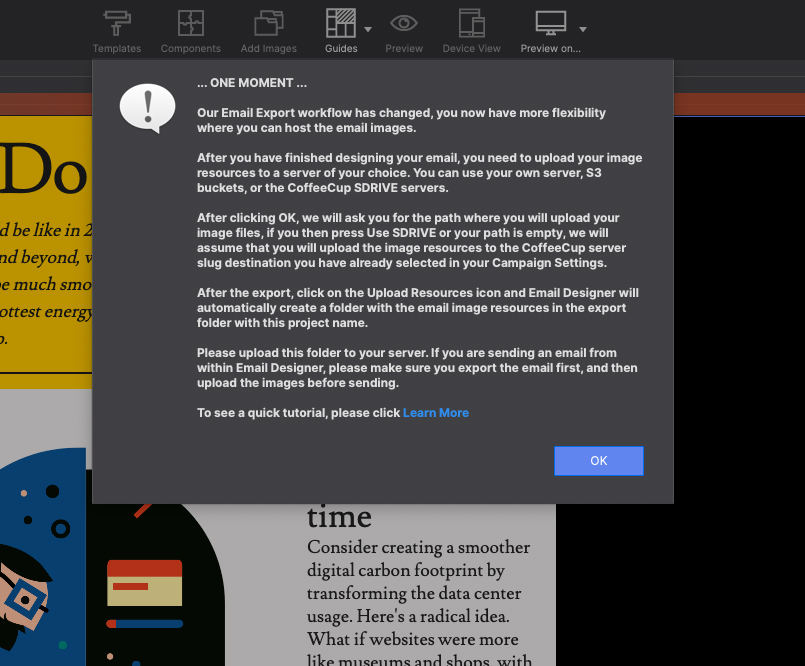
A warning dialog will appear to notify you that the image hosting workflow has changed. Read the brief recap of these steps and click OK to continue.
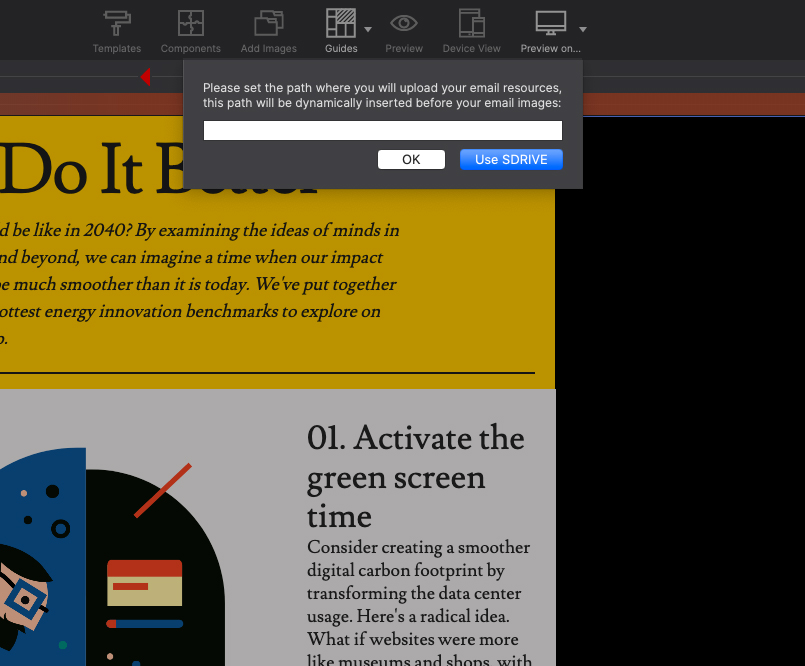
A pop-up dialog will ask you to set the path where you will upload your files. If you want to upload your files to a third-party server such as Cyber Duck enter the full link path for the folder destination. To upload to the CoffeeCup S-Drive servers, press the S-Drive button.
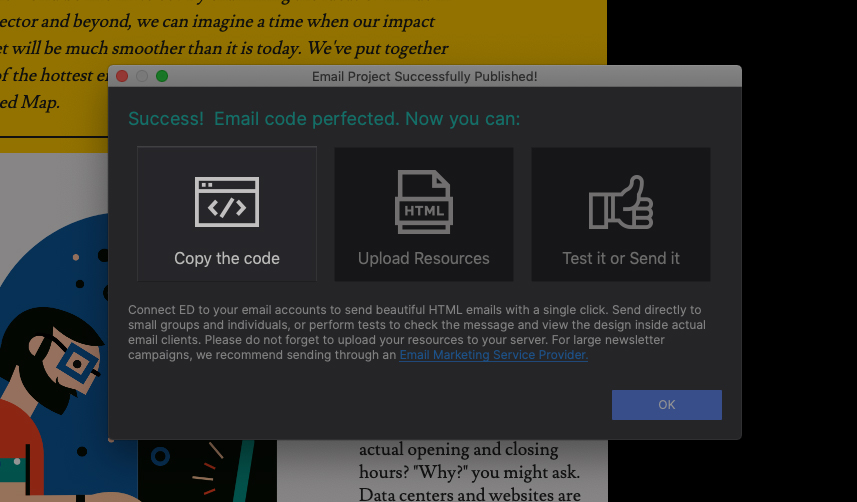
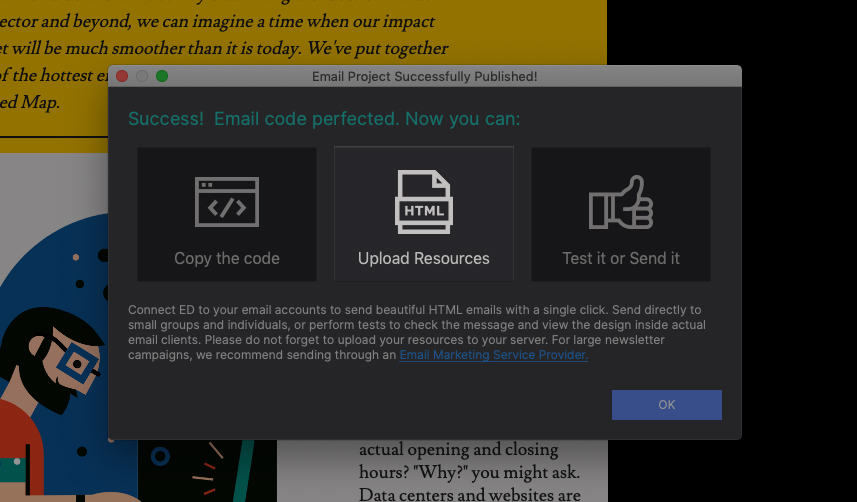
When the final dialog appears, click on Upload Resources located in the center. The exported folder will open with the files needed for your email. Leave the action dialog open to get the code or run a send.
For images hosted on CoffeeCup S-Drive, first log into your account. Then go to your S-Drive Sites Dashboard. Click on Upload File and then select both exported files (the .html file and image folder) to publish them.
If you are using a third party location, upload the exported files to the path specified in Step 4.
PRO TIP: If you send multiple email campaigns, we suggest you rename the email.html file to match your project file title. This way the files stay organized while uploaded to the same destination.
If you will be sending your email through Mailchimp or Constant Contact return to the Export Dialog box and choose Copy the Code.